
Summer of Heavy Lifting
This was a year for outdoor projects that required moving heavy objects. And I’m not even counting renovating the interlock brick paving around the garden – that was relatively trivial!
Fixing the pond leak
It began with our pond. It was leaking water, but only when the waterfall was running. It had done this back in 2005 or thereabouts, in the year or two following the initial build. The landscapers couldn’t find the problem, and ended up spraying expanded foam into every crevice (two full cans, as I recall) – a brute force solution which worked until the foam succumbed to time and the Canadian winters. I checked the obvious areas such as the tubing from the pump, and called in a pond expert, as I had no stomach for personally lifting the two giant capstones. The expert couldn’t find a problem either, and suggested draping a rubber sheet over the waterfall which didn’t sound like a very aesthetic solution. He did, however, lift the left capstone to look underneath, which made me think it wasn’t so bad. He also didn’t get back to me with a price, so I decided to have a go at it myself.
After dragging the right stone aside, I managed to lever up the main one in stages, left, then right, a bit at a time, keeping it up with progressively higher supports until I had about 8″ of working space. My thought was to put some vinyl left over from the swimming pool under the exit tube, with the edges curled up to keep the water flowing only towards the waterfall, and not sideways. This turned out to be better in theory than in practice, as lowering a massive stone slab gently, without disturbing the delicate arrangement of the vinyl was impossible. Further, the vinyl, even after trimming, was very visible, and the water fairly shot out over the waterfall from the frictionless vinyl. And it still leaked.
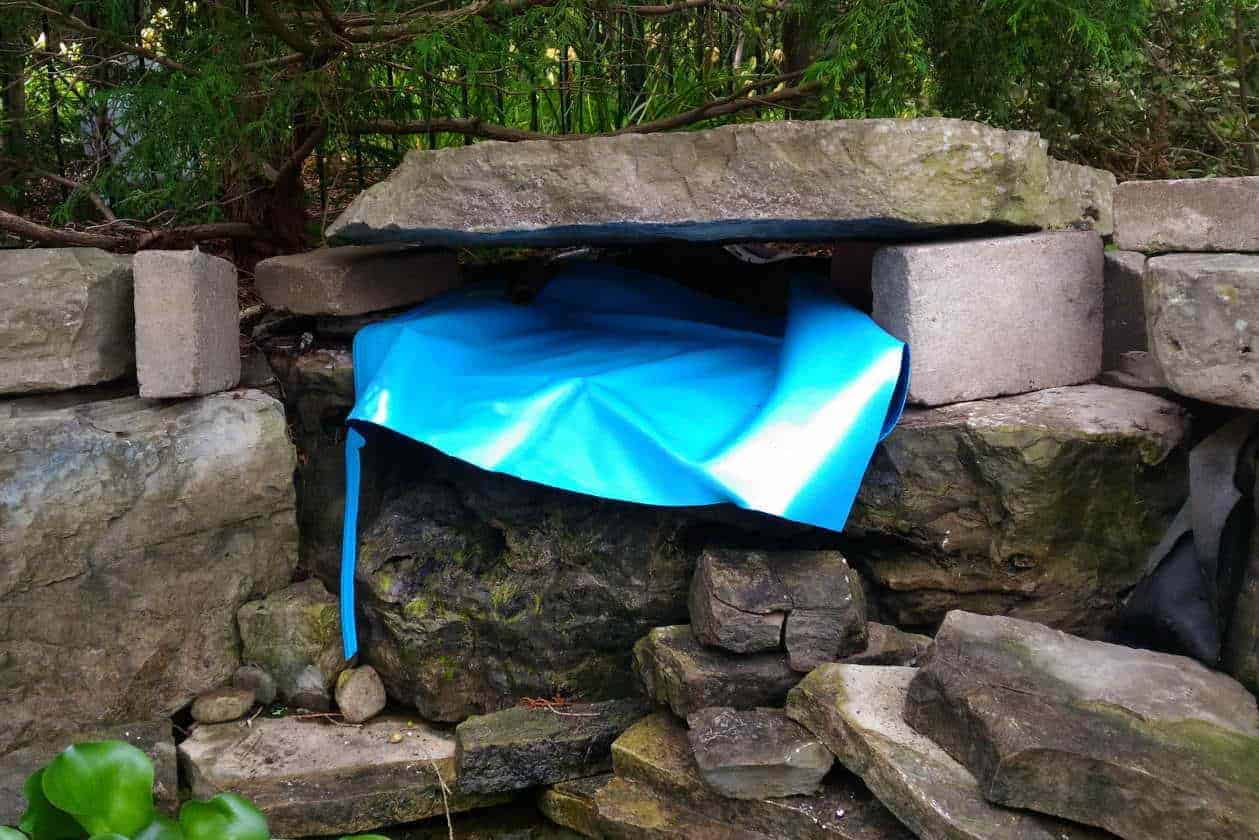
So I decided to try what the pond expert had said would never work, and created a mortar dam on the top of the waterfall block which kept the flow contained. That has worked so far, and I managed to get both capstones back in place without either one falling into the pond, and with my toes and fingers intact. The stones even look fairly level and even! The arrow is pointing to the new dam.

Shaky retaining wall
In early October, I decided to fix one of the concrete retaining wall blocks, which had begun to rock (no pun intended) when I stood on it. I thought it was just a matter of putting on some more construction adhesive, and the hard parts would be lifting the sucker up and then getting it back in place. I lifted it up and onto its neighbour without straining anything, and found the the bead of glue from the previous fix was mostly unsquashed – in other words, the block was not touching the block below. No wonder the glue wasn’t holding!
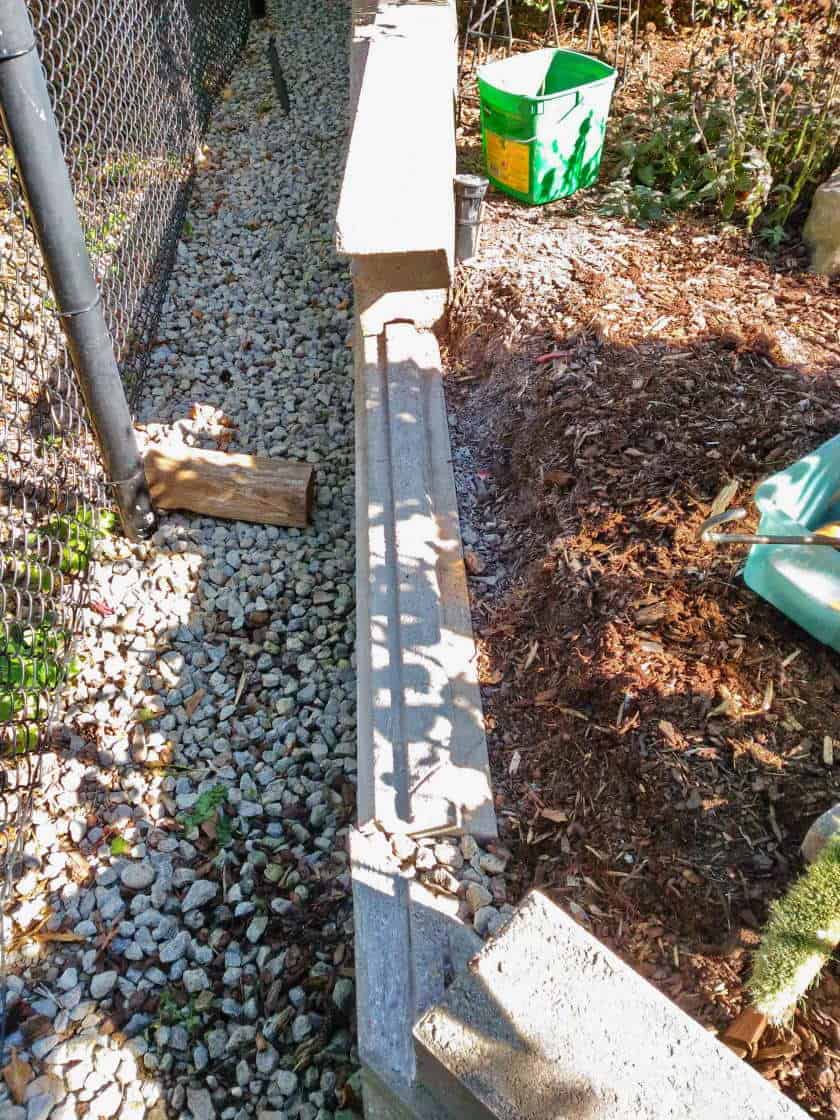
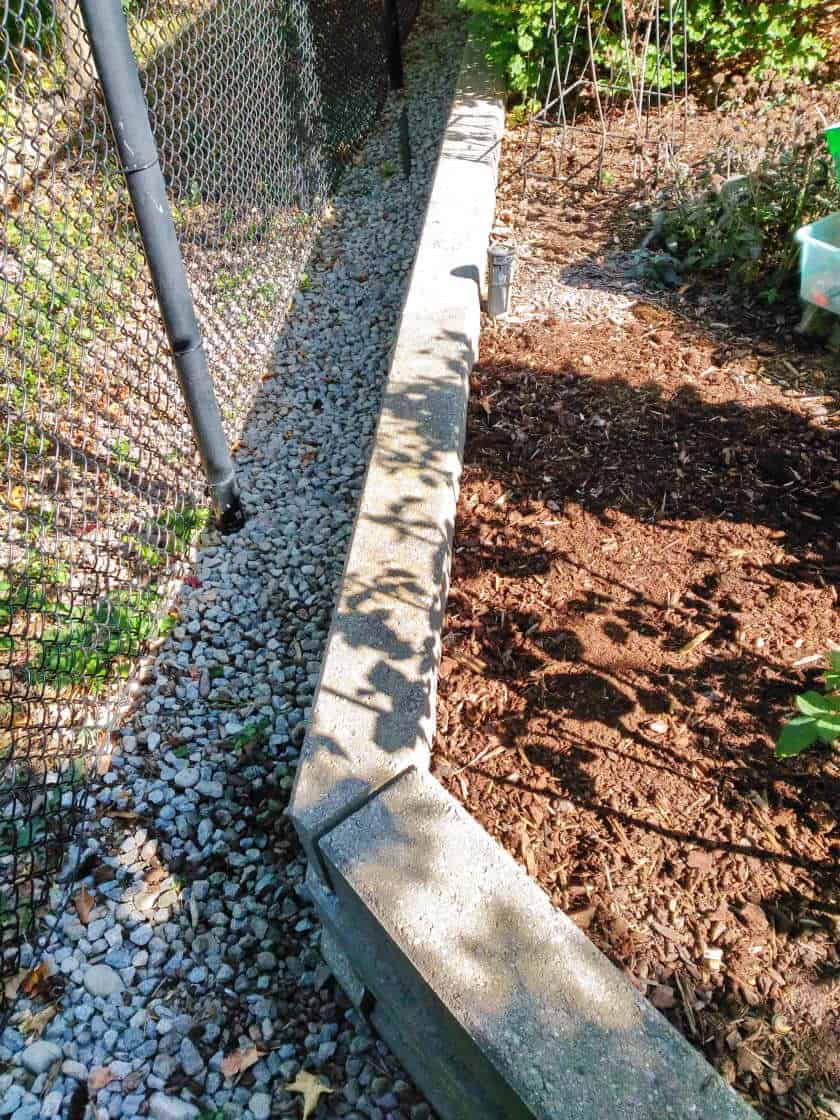
Luckily, I had recently become proficient with a diamond saw blade mounted in an angle grinder, so I carved out the parts which were too high. (You can see the carving near the bottom of the photo above.) I debated whether to do a “dry” test fit first, and reviewed my record for creating joints that fit perfectly on the first try. Then I did a test fit. Maybe I did several – the memories of lifting up and then replacing a 90 lb. block have mercifully been erased from my memory – but finally it fit and I applied the glue and managed to drop the block in place fairly accurately. So far it hasn’t budged.
Lifting the shed
This deserves a story all by itself, and I may yet edit the bits of video I took to document the work, but to keep the story short (now he’s worried about short?) I’ll stick to the heavy lifting part. In a nutshell, the beams holding the walls up had rotted out, so I had to lift the shed up to clean out the rot and insert a new beam under the wall and above the foundation. The interesting part was I couldn’t put any lifting device under the wall directly, because it would block the new beam. I came up with the idea of screwing a piece of wood to the sides of the shed and placing a car jack under that. To begin with, I could lift each side in turn, and put a temporary block underneath, but for the final beam insertion, I had to use two car jacks, one at each end. The next photo shows the jack at one end, with me about to adjust the new beam.

With the end beam in place, I still had to put something under the side – you can see the gaping hole above, with a temporary block screwed in place. The problem was, the plywood floor had deformed, and I needed to bend the plywood up to level while I inserted the new wood underneath. A length of 4×4 under the new wood could lever it upwards, but how to hold the lever while I put in the screws? The heavy car jack came to the rescue again. I’m so glad I learned about levers in physics class.

Unfortunately, all that hijacking moved the entire shed, and when it all settled, the interlock bricks no longer fit neatly around it, but that’s another story. But at least it’s one with a happy ending.
